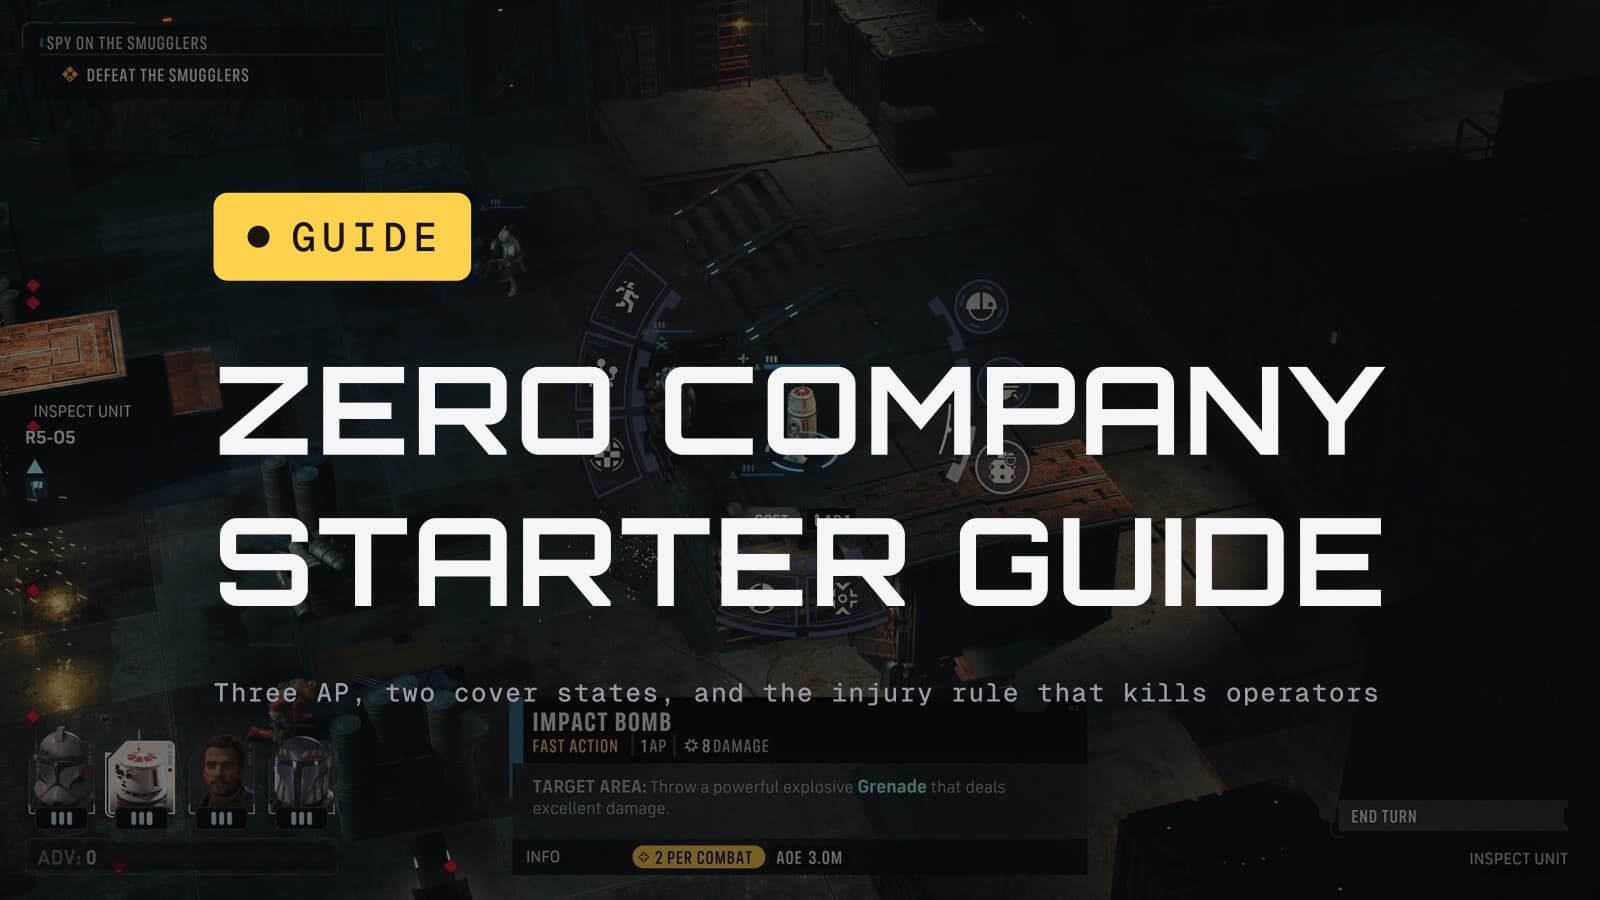
Star Wars Zero Company is friendlier than XCOM on its first mission and much less forgiving on its tenth. The gap is made of four systems the tutorial mentions once and never returns to. Here they are before they cost you an operator.
TL;DR
Everyone gets 3 AP a turn and your whole squad acts before the enemy does. Flanking and high ground beat cover; shooting into full cover mostly does not. Call for Backup costs nothing, so use it every single turn. And an operator who takes a third injury is gone permanently, which is the rule that ends first campaigns.
The turn structure is not XCOM's
In XCOM you move a unit, it acts, and it is done. Zero Company gives you the whole squad at once: every operator can act, in any order you like, and the enemy only moves after you end the turn.
That difference is the whole game. It means you can open with your Sharpshooter to strip a target's cover, follow with two attacks into the opening you just made, and finish with your fourth operator repositioning for next turn. Order is a resource. Players coming from XCOM tend to burn the first ten hours treating each operator as a separate decision, which throws away most of what the system is for.
Each operator has 3 AP per turn. Moving, shooting, abilities, Overwatch and throwing a grenade all draw from the same three points, and abilities list their own cost (an Impact Bomb runs 1 AP). Squad size is four, with a handful of scripted missions handing you extras.
Cover, and the two things that beat it
There are two cover states, and the game is blunt about them:
| State | What it does |
|---|---|
| Partial cover | Makes your operator harder to hit |
| Full cover | Considerably harder to hit |
Two things cancel it. Flanking means moving around the side of whatever an enemy is hiding behind, which leaves them Exposed. High ground negates cover as well, and it works on you in reverse, so an enemy sitting above your squad is getting the same bonus you would.
The practical version for your first missions: if your chance to hit is under about 60%, you almost always have a better option than taking the shot. Spend AP moving to the flank instead. A 90% shot next turn beats a 45% shot now, and the enemy turn in between is survivable if you end your turn in full cover.
Call for Backup is free, so use it every turn
Once per turn, one of your operators can Call for Backup: they pick a teammate, and that teammate contributes to their next attack. It costs 0 AP.
There is no reason to skip it. Beyond the damage, it builds Bonds between the two operators involved, and Bonds are a real progression track rather than flavor. Operators also build them by completing missions together. Starting bond levels are lower on Hard and Expert, which is one of the quieter reasons those difficulties bite.
The injury rule that ends campaigns
This is the one to internalize.
When an operator's health hits zero they are not killed, they take an Injury. Injuries stack, they persist between missions, and each one carries roughly a 10% chance-to-hit penalty. On the third Injury, that operator is permanently dead. Hawks is the exception and cannot be lost this way. Everyone else can.
Two consequences most people learn the hard way:
- The injuries carry over. An operator who finished the last mission at two Injuries starts the next one a single knockdown from gone, shooting at a 20% penalty. Check the roster before you deploy, every time.
- Treat them. Injuries clear at the Den's Medbay, and the Bacta Tank speeds it up. Rotating a wounded operator out for a mission is cheaper than replacing them. The full rules are in our permadeath guide.
Losing someone is not only a roster problem. Bit Reactor wrote conditional dialogue around who is still alive, so a death changes later conversations and Den scenes rather than quietly removing a portrait.
Your first squad
Your opening three companions arrive locked into roles: Kabb as a Scoundrel, Trick as a Sharpshooter, and Jae as an Assault. After that, most operators choose from eight specializations, each carrying an Ultimate, a standard ability and passives.
Aim for four jobs rather than four favorites: someone flexible to lead, one reliable damage dealer, one operator who provides mobility or control, and something that covers range or soaks hits. If you want a single recommendation for a first specialization pick, PC Gamer's case for the Scoundrel is the one we would follow: it makes enemies Vulnerable for guaranteed crits, cuts through defenses and boosts assist damage, which pays into the Call for Backup habit above.
The campaign runs 30 to 40 hours by Bit Reactor's own estimate, and there is no New Game Plus, so the squad you build is the squad you finish with.
One warning before you start a Beskar run
Crashes can eat permadeath progress
Zero Company shipped with crash issues on some PC configurations, and reviewers flagged that a mid-battle crash can cost you permadeath progress. EA has acknowledged crashes tied to certain NVIDIA GPUs and Intel processors: if you are on DLSS with GeForce Game Ready Driver 610.88 or older, update the driver first. A hotfix was expected within days of launch. Beskar Mode commits you to a single save with no reloading, so it is worth waiting until your machine has proven itself stable for a few sessions.
Difficulty is the one setting the game promises you can change later, so start a notch above comfortable. Our difficulty guide covers what each level actually changes, including the two things Hard and Expert take away that have nothing to do with hit chance.
The details
- Combat fundamentals (AP, cover states, flanking, high ground) follow EA's own turn-based tactics documentation for the game. Specialization counts, the injury thresholds and the starting operator roles come from community documentation cross-referenced across several guides.
- We are still playing the campaign rather than reporting from a finished one. Anything our own save contradicts gets corrected here, visibly.
- The Scoundrel recommendation is PC Gamer's call, not a claim of our own testing.